 University of Utah
Overview
This guide shows how to install and test Internet Information Services (IIS) web server on Windows 11 Pro and test that it is working.
Important Notes
- The IIS web server can only be installed on Windows platform computers.
- Also, IIS cannot be installed on Windows Home Editions, you must have (or upgrade to) Windows Pro Version 10 or 11 in order to install and use IIS.
Requirements
- Windows 11 Pro Edition.
- Note: You must have the Pro edition of Windows in order to add the IIS web server. IIS will not install on the Windows Home Edition.
- Administrator access to the computer.
- A web browser to test the installation of IIS.
- Internet access.
Install and Test IIS
In this Tech Guide, we will install the IIS web server and confirm that the default IIS site.
Step 1.1: Add IIS to the Windows Installation
Use the Windows Search box and enter: optional features.
Then, on the dialog click More Windows Features as shown in Figure 1.
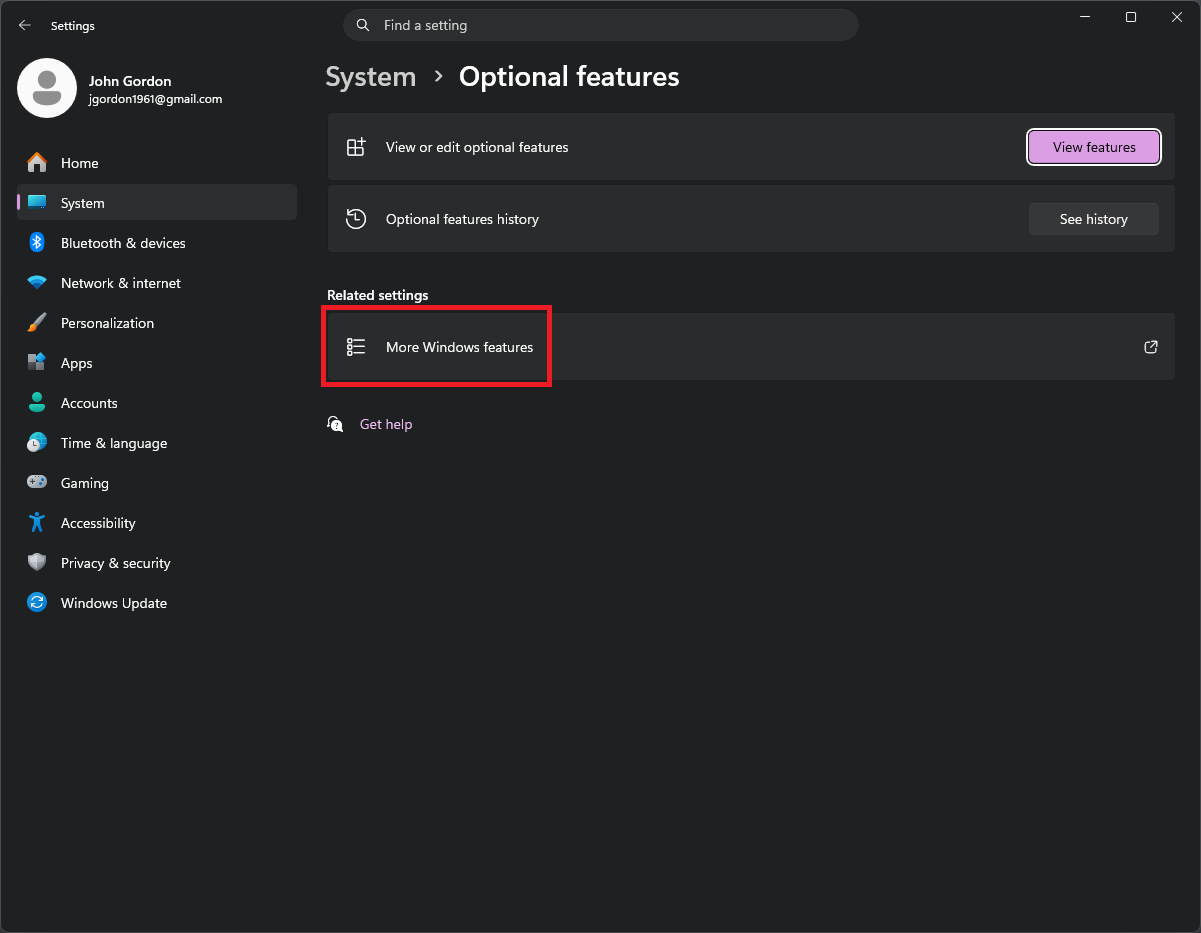
The Windows Features dialog opens.
Expand the Internet Information Services list and check the boxes shown in Figure 2. below.
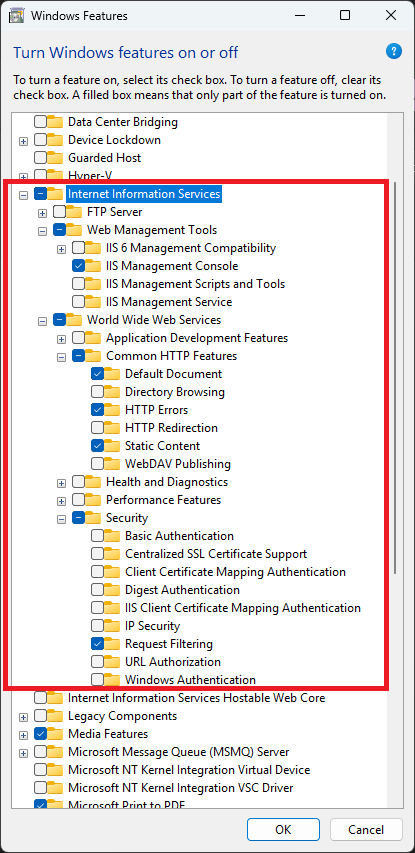
When finished you should have the following items checked:
- Internet Information Services
- Web Management Tools
- IIS Management Console
- World Wide Web Services
- Common HTTP Features
- Default Document
- HTTP Errors
- Static Content
- Security
- Request Filtering
Click Ok and the features are installed.
Step 1.2: Test IIS
After the feature installation completes, open a browser and enter the following in the URL address bar: localhost and press Enter.
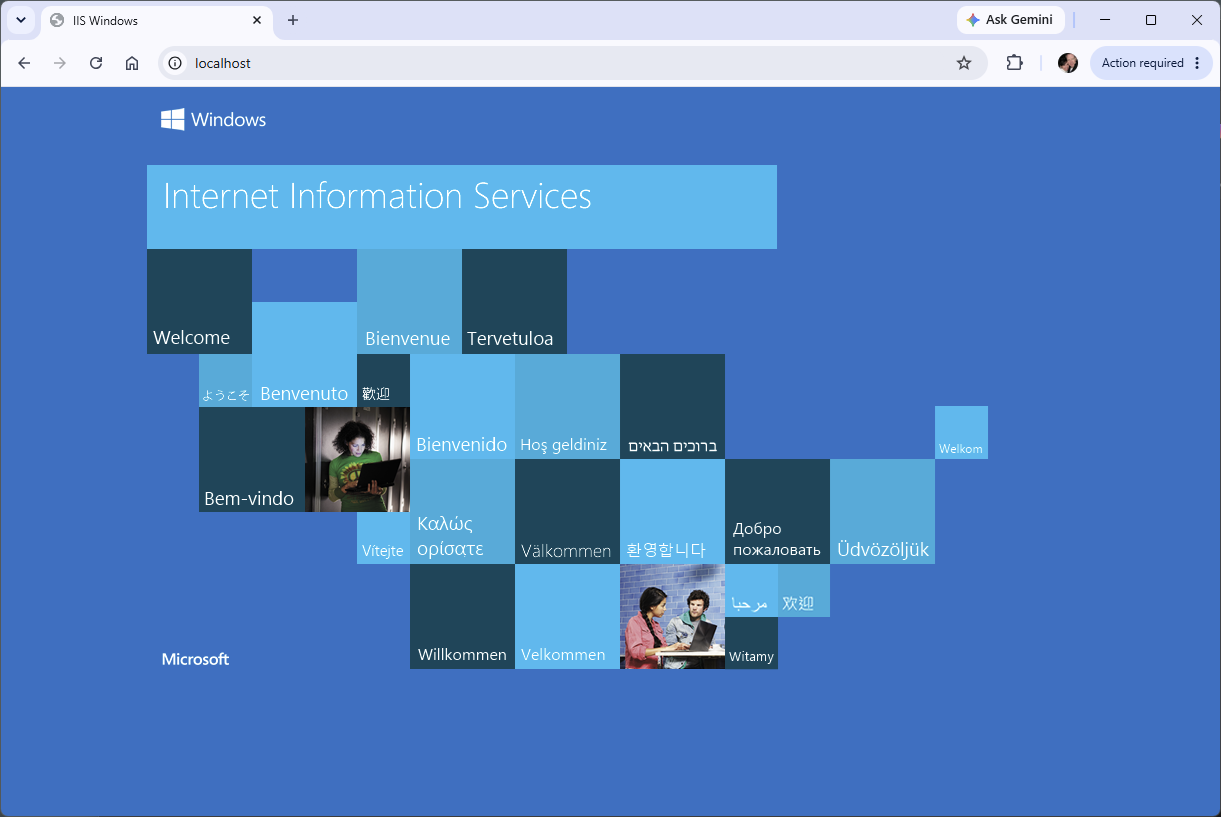
If the IIS page appears as shown above, then the web server is running correctly.
- IIS is working when
http://localhostshows the IIS site runs successfully.